Indoor gardening is a great way to keep your green thumb active even during the colder months. And with spring just around the corner, it’s time to start thinking about preparing your indoor starters for outdoor planting. Whether you’re a seasoned gardener or a beginner, there are a few key steps you can take to ensure your indoor plants are ready for the transition.
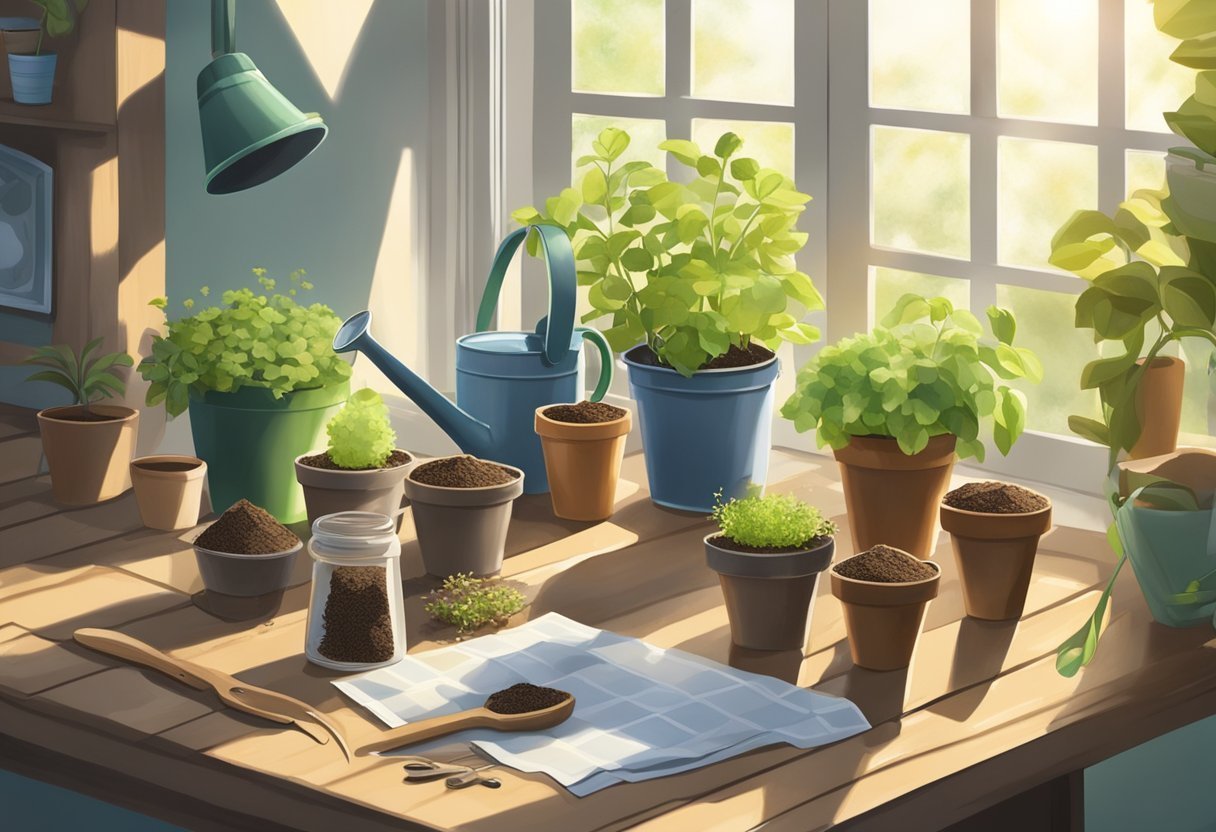
First and foremost, it’s important to choose the right plants for your space and climate. Some plants require more sunlight or humidity than others, so be sure to do your research before selecting your indoor starters. Once you’ve chosen your plants, it’s time to start preparing them for the move outdoors. This may include repotting, pruning, and fertilizing to ensure they are healthy and strong enough to survive in the outdoor environment.
Table of Contents
Understanding Plant Hardiness Zones
Plant hardiness zones are a way to determine which plants are most likely to thrive in a particular area. The United States Department of Agriculture (USDA) has divided the country into 11 hardiness zones based on average annual minimum temperatures.
Each zone is defined by a range of temperatures, and plants that are adapted to a particular zone are more likely to survive and thrive in that area. For example, a plant that is adapted to Zone 9 (with a minimum temperature range of 20-30°F) may not survive in Zone 5 (with a minimum temperature range of -20 to -10°F).
It’s important to know your hardiness zone when choosing plants for your indoor starters. You can find your zone by using the USDA’s interactive map or by consulting a gardening book or website that lists hardiness zones by zip code.
By selecting plants that are adapted to your zone, you can increase your chances of success and avoid wasting time and money on plants that are unlikely to thrive. Keep in mind that other factors, such as soil type and sunlight, can also affect plant growth, so it’s important to research and choose plants carefully.
Here is a table that shows the USDA plant hardiness zones and their corresponding temperature ranges:
| Zone | Temperature Range (°F) |
| 1 | -60 to -50 |
| 2 | -50 to -40 |
| 3 | -40 to -30 |
| 4 | -30 to -20 |
| 5 | -20 to -10 |
| 6 | -10 to 0 |
| 7 | 0 to 10 |
| 8 | 10 to 20 |
| 9 | 20 to 30 |
| 10 | 30 to 40 |
| 11 | 40 to 50 |
Remember to consider your hardiness zone when selecting plants for your indoor starters. By doing so, you can increase your chances of success and enjoy a beautiful and thriving garden.
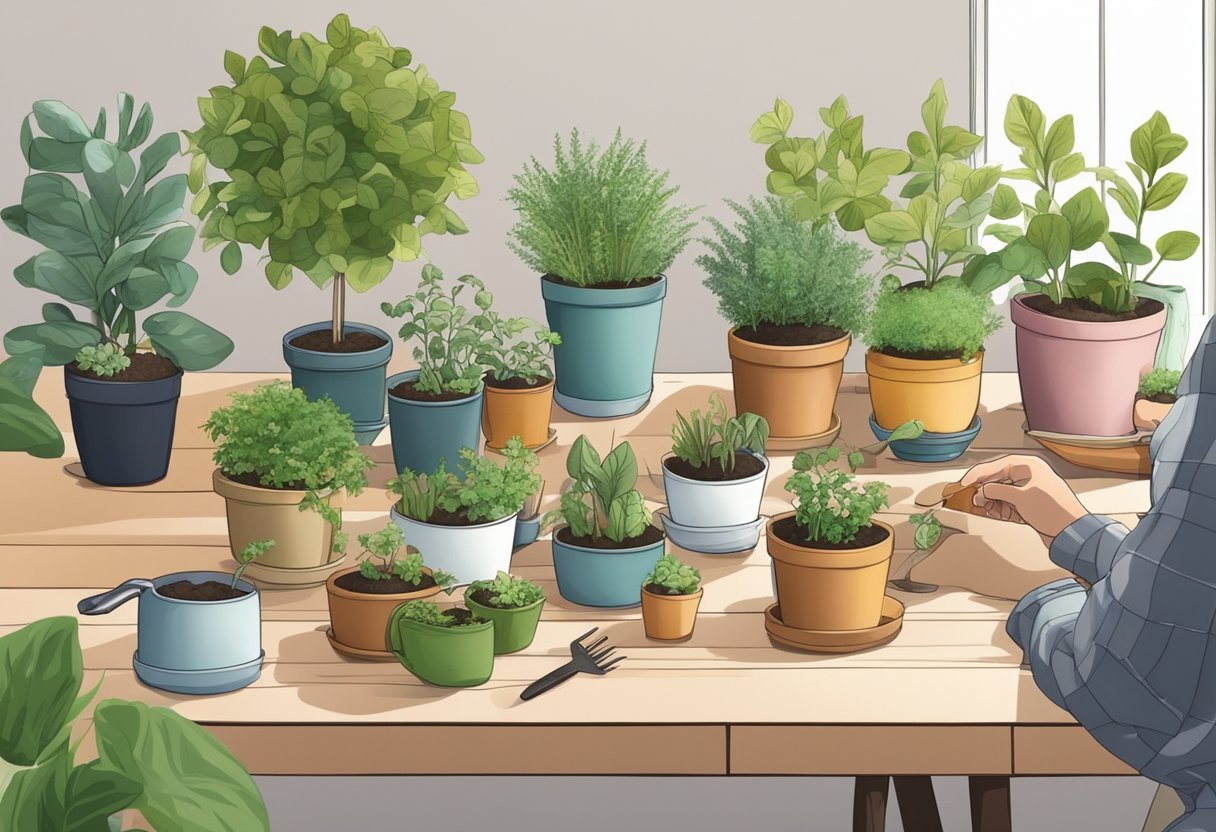
Selecting Suitable Plants
Assessing Seed Quality
Before selecting any plants for indoor starters, it is important to assess the quality of the seeds. The quality of the seed will determine the success of the plant growth. It is recommended to purchase seeds from a reputable supplier to ensure that the seeds are of good quality.
One way to assess the seed quality is to check the seed’s packaging. The packaging should include information about the seed’s germination rate, the date of packaging, and any certifications or guarantees. The germination rate should be at least 80% for the best results.
Another way to assess the seed quality is to conduct a germination test. This test involves placing a few seeds on a damp paper towel and placing it in a warm and dark location. After a few days, check the seeds for any signs of germination. If most of the seeds have germinated, then the seed quality is good.
Choosing Plant Varieties
When selecting plants for indoor starters, it is important to choose varieties that are suitable for indoor growth. Some plants may require more space, light, and nutrients than others. It is important to consider the available space and resources before selecting a plant variety.
Some popular plant varieties for indoor starters include tomatoes, peppers, and herbs. These plants are relatively easy to grow indoors and do not require a lot of space. It is recommended to choose plant varieties that are suitable for the local climate and growing conditions.
In conclusion, selecting suitable plants for indoor starters requires assessing seed quality and choosing plant varieties that are suitable for indoor growth. By following these guidelines, gardeners can ensure a successful indoor growing season.
Creating the Ideal Starting Environment

Starting indoor plants is a great way to get a head start on your spring garden. However, to ensure that your plants grow strong and healthy, it is important to create the ideal starting environment. This section will cover the lighting requirements, temperature control, and soil preparation necessary for a successful indoor start.
Lighting Requirements
Lighting is essential for the growth of any plant. When starting plants indoors, it is important to provide them with enough light to encourage healthy growth. A grow light is a great option for indoor plants as it provides the necessary spectrum of light for photosynthesis. The light should be positioned about 6 inches above the plants and should be on for 14-16 hours per day. If natural light is available, place the plants near a south-facing window.
Temperature Control
Temperature is another important factor when starting plants indoors. The ideal temperature for most plants is between 65-75°F (18-24°C). It is important to keep the temperature consistent throughout the day and night. A heating mat can be used to provide bottom heat to the plants and maintain a consistent temperature.
Soil Preparation
The soil used for starting plants should be light and well-draining. A mixture of peat moss, vermiculite, and perlite is a great option. The soil should be moist but not waterlogged. Before planting, the soil should be thoroughly mixed and any large clumps broken up.
By following these guidelines for lighting, temperature, and soil preparation, you can create the ideal starting environment for your indoor plants. With proper care and attention, your plants will be ready to thrive when it’s time to move them outdoors.
Sowing Seeds Indoors

Timing for Sowing
Sowing seeds indoors is a great way to get a head start on the growing season. The timing for sowing seeds indoors will depend on the specific plant and the climate in your area. As a general rule, seeds should be sown indoors 6-8 weeks before the last expected frost date. This will give the seedlings enough time to grow and develop before they are transplanted outdoors.
Planting Depth and Spacing
When sowing seeds indoors, it’s important to pay attention to planting depth and spacing. Most seeds should be planted at a depth of two to three times their diameter. This will ensure that they have enough moisture and nutrients to germinate and grow. Seed packets will often have specific instructions on planting depth and spacing, so be sure to read them carefully.
Spacing is also important when sowing seeds indoors. Seedlings need enough space to grow and develop without competing with each other for nutrients and light. As a general rule, seeds should be spaced at least 1-2 inches apart. Again, seed packets will often have specific instructions on spacing, so be sure to read them carefully.
In summary, sowing seeds indoors is a great way to get a head start on the growing season. Pay attention to timing, planting depth, and spacing to ensure that your seedlings have the best chance of success.
Caring for Seedlings

Watering Techniques
Proper watering is crucial for the growth and development of seedlings. Overwatering can lead to root rot, while underwatering can cause stunted growth and wilting. It is important to keep the soil moist but not waterlogged. A good rule of thumb is to water when the top inch of soil feels dry to the touch.
When watering, it is best to use a watering can or spray bottle to avoid disturbing the delicate seedlings. Water should be applied gently and evenly to the soil surface. It is important to avoid getting water on the leaves as this can lead to disease and fungal growth.
Fertilization Schedule
Seedlings need proper nutrition to grow strong and healthy. It is recommended to use a balanced, water-soluble fertilizer once a week. The fertilizer should be diluted according to the manufacturer’s instructions and applied to the soil around the seedlings.
It is important to avoid over-fertilizing as this can lead to burning of the roots and damage to the seedlings. It is also important to stop fertilizing once the seedlings are ready to be transplanted.
Thinning Seedlings
As seedlings grow, they may become overcrowded. It is important to thin them out to ensure proper growth and development. Thinning involves removing the weaker seedlings to allow the stronger ones to thrive.
To thin seedlings, gently grasp the stem of the weaker seedling and pull it out of the soil. It is important to avoid disturbing the roots of the surrounding seedlings. Thinning should be done once the seedlings have developed their first set of true leaves.
By following these simple techniques, seedlings can be cared for properly and will be ready for transplanting in the spring.
Hardening Off Process

Gradual Exposure
Before transplanting indoor starters outdoors, it is important to gradually expose them to the outdoor environment. This process is known as hardening off and involves slowly acclimating the plants to changes in temperature, sunlight, and wind.
To begin the hardening off process, start by placing the plants outside for a few hours each day in a sheltered location, such as a porch or under a tree. Gradually increase the amount of time the plants spend outside each day, slowly exposing them to more sunlight and wind.
It is important to note that the hardening off process should take place over the course of several weeks to ensure that the plants are fully acclimated to the outdoor environment. Rushing the process can result in stunted growth or even death of the plants.
Monitoring Weather Conditions
During the hardening off process, it is important to monitor weather conditions to ensure that the plants are not exposed to extreme temperatures or weather events. If temperatures are expected to drop below freezing, it is best to bring the plants indoors or cover them with a protective cloth.
Similarly, if strong winds or heavy rain are expected, it is best to bring the plants indoors or move them to a sheltered location. By monitoring weather conditions and taking appropriate action, the hardening off process can be completed successfully, resulting in healthy and strong plants ready for transplanting into the garden.